1. Overview
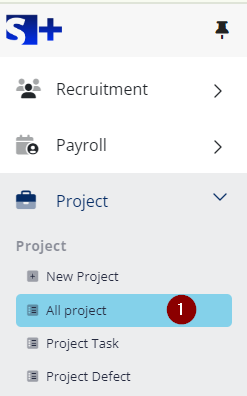
Step 1 : Click All Project menu under “Project Module”.

Step 2 : Click Details view and edit project detail.
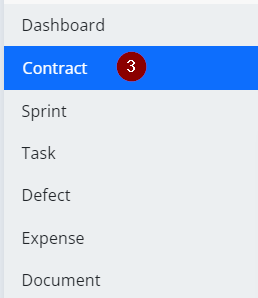
Step 3 : Click Contract tab.
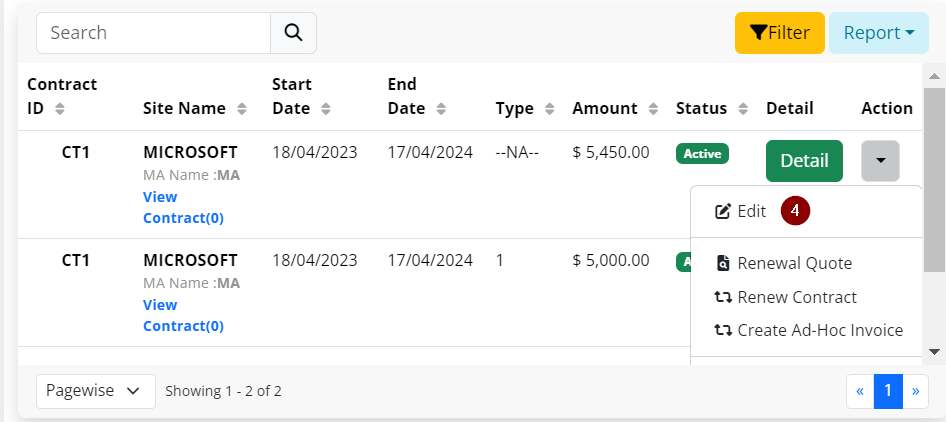
The created contract will appear in every list of contract.
Step 4 : Click Edit to edit project contract.
Note : The fields having * marks indicates mandatory fields.
2. Edit Contract

1. Click New add new project type.
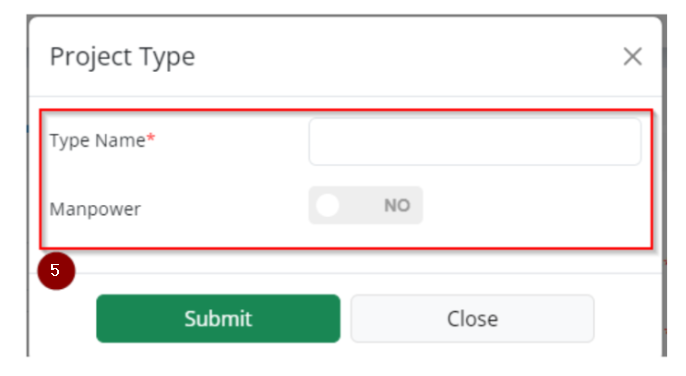
Step 5 : Enter project type detail.
- Type Name : Enter project type name.
- Manpower : Select Yes or No. Project type is manpower choose Yes unless you choose No.
- Click Submit project type has been created.
2. Click New add new client name.
Please refer https://help.splus.one/knowledgebase/client-creation/ for how to create new client name.

Step 6 : Enter basic information detail.
- Project Type : Select project type.
- Client Name : Select client name.
- Agreement Date : Select project agreement date.
- Project Duration : Select project duration.
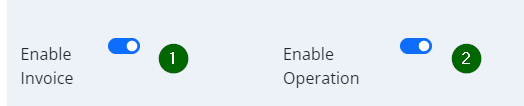
1. Enable Contract : If select enable contract Yes, create contract for this project.
2. Enable Operation: If select enable manpower Yes, add manpower for this project.
1. Enable Contract
Enable contract have three section, such as Contract Detail, Bill Items and Analytic Items.
1.1. Contract Detail
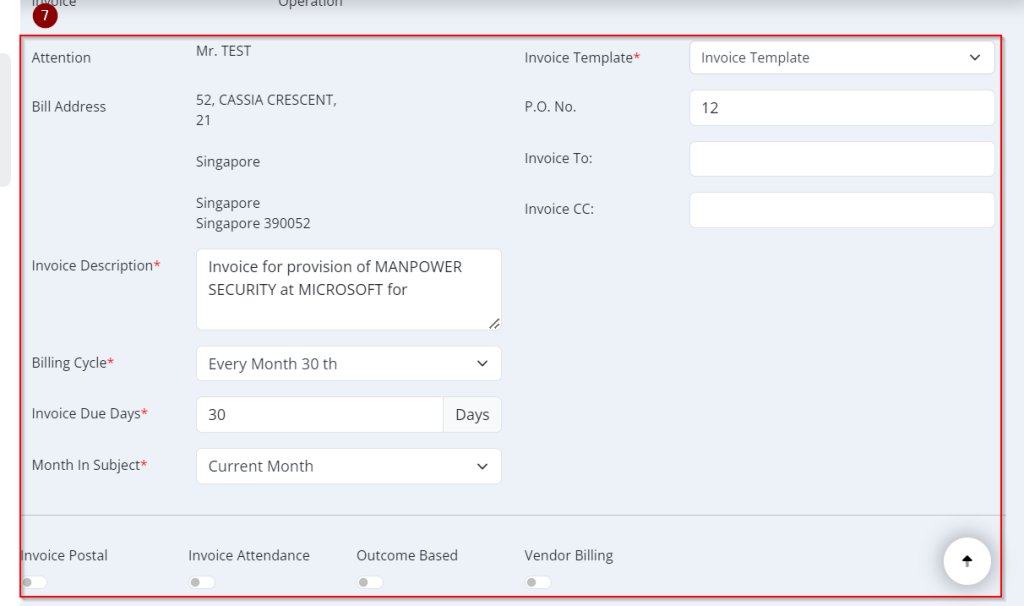
Step 7 : Enter contract detail
- Attention : Shows client contact person name
- Bill Address : Shows client address
- Invoice Description : Enter invoice description
- Billing Cycle : Select invoice generated duration
- Invoice Due Days : Select Invoice expiry days
- Month In Subject : Select month In subject
- Invoice Template : Select invoice template. There are various formats for invoice templates. The invoice template you choose will depend on your format.
- P.O. No. : Enter P.O. No
- Invoice To : Enter invoice send mail id
- Invoice CC : Enter invoice cc mail id
- Invoice Postal : Select Yes or No.
- Invoice Attendance : Select Yes or No.
- Outcome Based : Select Yes or No.
- Vendor Billing : Select Yes or No.

- Click Add Note add note.
- Click Terms & Conditions add terms & condition.
1.1.1. Add Note
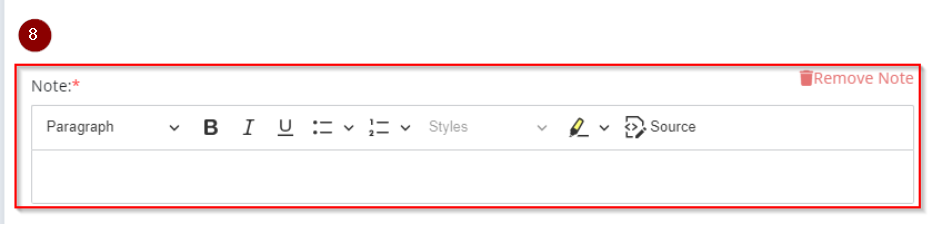
Step 8 : Enter Note.
1.1.2. Add Terms & Conditions
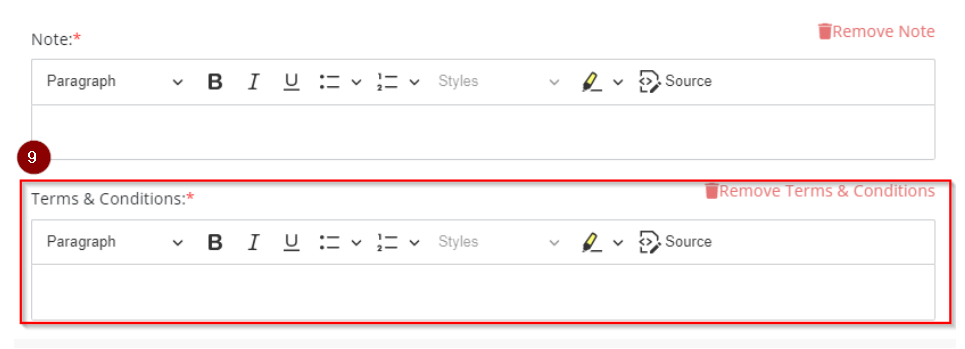
Step 9 : Enter Terms & Conditions.
1.2. Bill Item
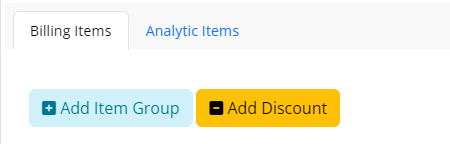
1.2.1. Add Item Group

Step 10 : Enter item group
- Group Type : Select group type.
- Shift : Select shift. Shift input will show based on group type.
- Group Header : Enter group header.
- Click Add Item
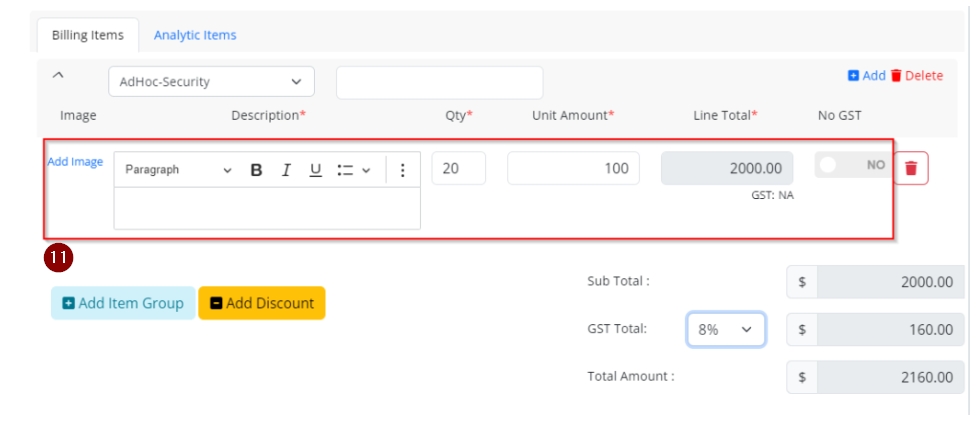
Step 11 : Enter item detail
- Image : Add item related image.
- Description : Enter item description.
- Quantity : Enter item quantity.
- Unit Amount : Enter cost per item.
- Line Total : Will show multiplication of Quantity and Unit Amount
- Sub Total : Will show Line Total value.
- GST Total : Select GST percentage and based on GST percentage calculated from Sub Total value.
- Total Amount : Adding Sub Total and GST Total value.
- No GST : If item have with GST select No , If item have without GST select Yes
1.2.1. Add Discount
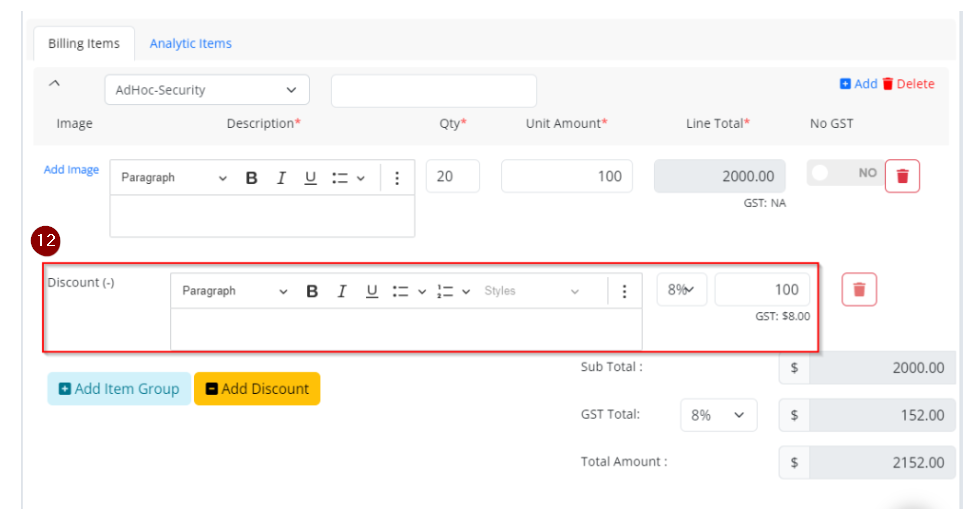
Step 12 : Enter discount detail.
- Discount Type : Select discount type.
- Description : Enter discount description.
- GST : Select GST percentage.
- Discount Amount : Enter discount amount.
- Sub Total : Will show subtract Discount Amount from Line Total value.
- GST Total : Select GST percentage and based on GST percentage calculated from Sub Total value.
- Total Amount : Adding Sub Total and GST Total value.
1.2. Analytic Item

- Click Add Item
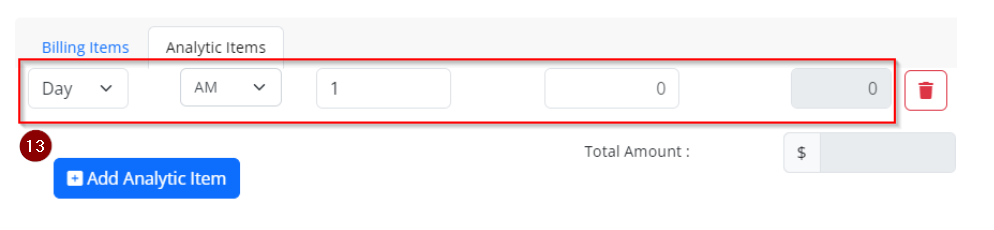
Step 13 : Enter analytic item detail
- Item Type : Select item type.
- Designation : Select designation.
- Quantity : Enter quantity.
- Unit Amount : Enter cost per item.
- Line Total : Will shows multiplication of Quantity and Unit Amount.
- Total Amount : Will shows Line Total value.
2. Enable Operation
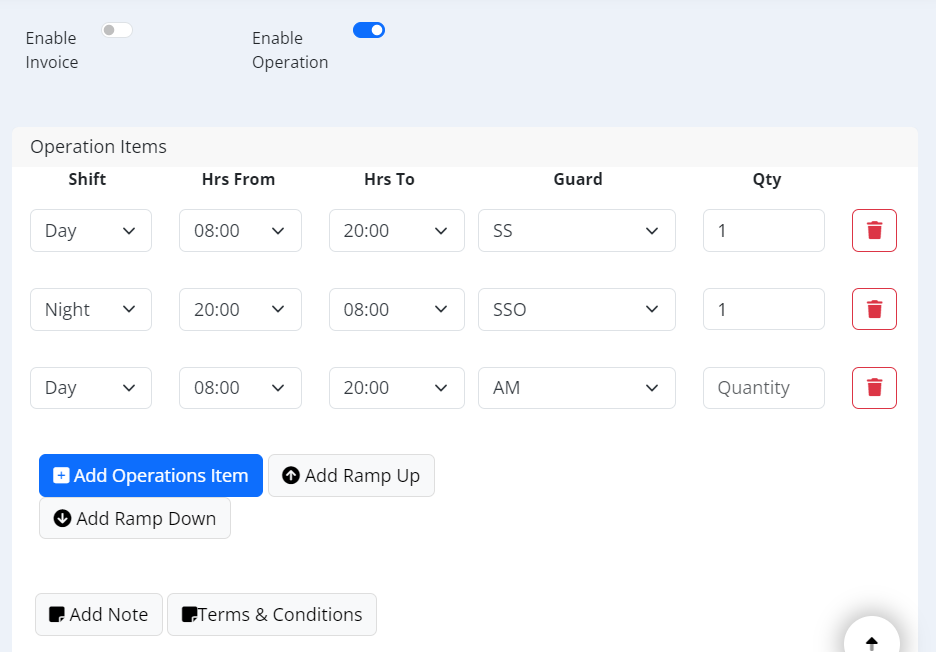
Enable operation have three section, such as
- Click Add Operation Item add manpower operation item
- Click Add Ramp Up add ramp up contract item
- Click Add Ramp Down add ramp down contract item
2.1. Operation Items
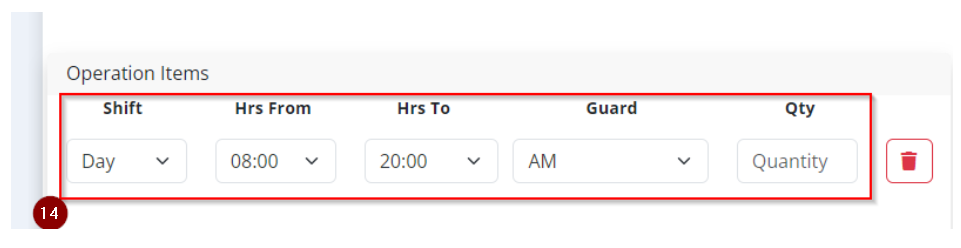
Step 14 : Add operation item
- Shift : Select shift
- Hours From : Select from working hours
- Hours To : Select to working hours
- Guard : Select designation
- Quantity : Enter item quantity
2.2. Add Ramp Up
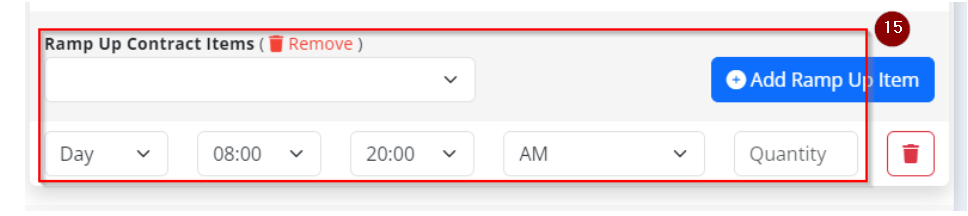
Step 15 : Add ramp up contract Items item
- Day : Select day for item
- Shift : Select shift
- Hours From : Select from working hours
- Hours To : Select to working hours
- Guard : Select designation
- Quantity : Enter item quantity
2.2. Add Ramp Down
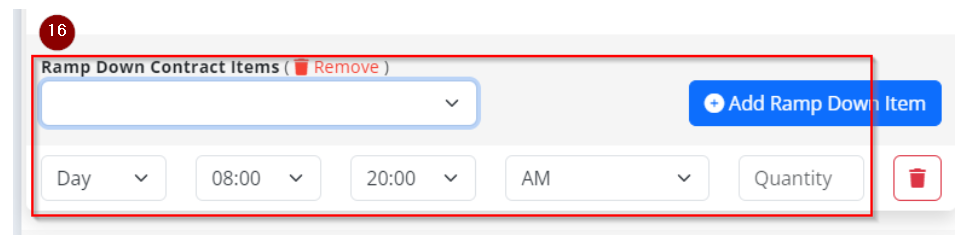
Step 16 : Add ramp up contract Items item
- Day : Select day for item
- Shift : Select shift
- Hours From : Select from working hours
- Hours To : Select to working hours
- Guard : Select designation
- Quantity : Enter item quantity

Step 17 : Enter note and terms & conditions.
- Note : Enter note.
- Terms & Conditions : Enter terms & conditions.
Click Update contract has been updated successfully.