Credit Note Workflow Explanation:
- Select Client and Project
- Client Name: Choose the client (example shown: AAA1).
- Project Name: Select the relevant project linked to the client (example shown: ssss).

- Enter Credit Note Details
- Credit Note Month: Choose the month to which the credit note relates (example: May 2025).
- Invoice No: Select or enter the original invoice number against which this credit note is being issued (example: INV2024/476).

- Set Credit Note Date and Subject
- Credit Note Date: Pick the date when the credit note is created (example: 28/04/2025).
- Subject: Provide a clear subject for the credit note (example given: Credit note on the below items for the month of April).

- Add Credit Note Items
- Under Credit Note Items section:
- Description: Provide a detailed description of the item/service for which the credit is being given.
- Amount: Enter the credited amount for that line item.
- You can add multiple line items by clicking the + Add Line Item button.
- Each line item can also be deleted using the red trash bin icon.
- Under Credit Note Items section:
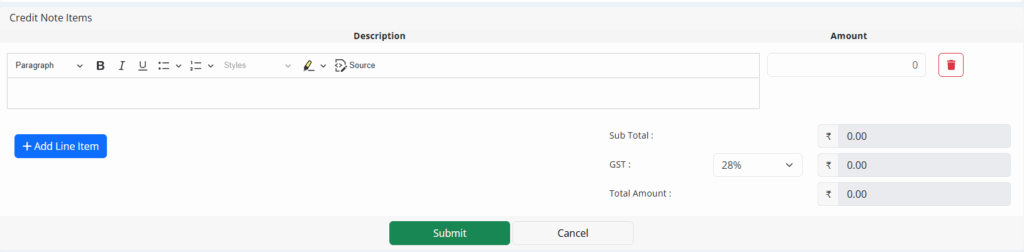
- Automatic Calculation of Amounts
- Sub Total: Automatically sums up the total amount before GST.
- GST: Select applicable GST rate from the dropdown (example shown: 9%).
- Total Amount: Automatically calculates the final amount after adding GST to the subtotal.

- Final Actions
- Once all fields are filled in:
- Click Submit to save the Credit Note.
- Click Cancel if you want to discard or reset the credit note entry.
Summary of Workflow:
Select Client & Project → Enter Credit Note Details → Add Items & Amounts → System Calculates Total → Submit or Cancel
Purpose of Credit Note Module:
- Helps correct overbilling or cancel invoice amounts.
- Maintains proper records linked to original invoices.
- Ensures transparent adjustment between clients and internal accounting.