Debit Note Workflow Explanation:
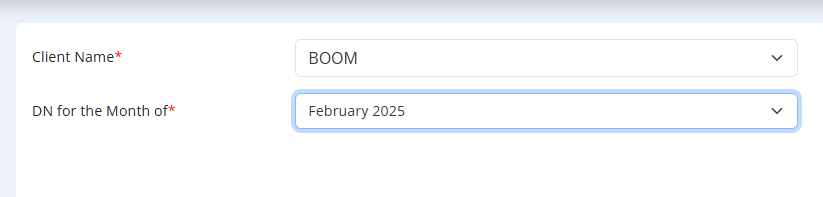
- Select Client and Month
- Client Name: Select the client to whom the debit note will be issued (example: KING’S MANSION).
- DN for the Month of: Choose the month for which the debit note is being raised (example: January 2025).
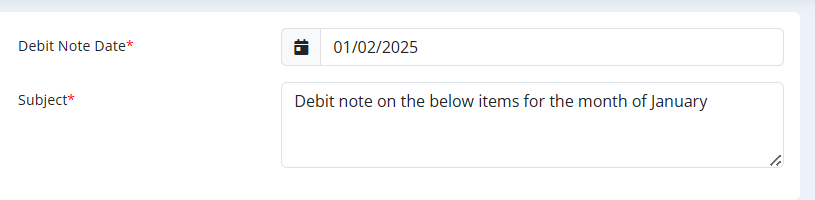
- Enter Debit Note Details
- Debit Note Date: Choose the date when the debit note is being created (example: 01/02/2025).
- Subject: Provide a brief description or subject for the debit note (example: Debit note on the below items for the month of January).
- Add Debit Note Items
- Under Debit Note Items section:
- Description: Mention the details of the item or service being debited.
- Amount: Enter the amount being charged for that line item.
- Add Line Item: Allows you to add multiple items if the debit note includes several charges.
- Each line item can be deleted using the red trash bin button.
- Under Debit Note Items section:
- Automatic Amount Calculation
- Sub Total: Automatically calculates the total of all line items before tax.
- GST: Select the applicable Goods and Services Tax (GST) percentage.
- Total Amount: Automatically computes the final total after applying GST.

- Final Actions
- After verifying all details:
- Click Submit to finalize and create the Debit Note.
- Click Cancel to abort the operation if needed.
- After verifying all details:
Summary of Workflow:
Select Client & Month → Fill Debit Note Details → Add Items & Amounts → Automatic Totals → Submit or Cancel
Purpose of Debit Note Module:
- Increase the receivables from the client when additional charges need to be billed.
- Used when there were underbillings, additional work, or missed charges on the original invoice.
- Ensures transparent adjustments between the company and the client.